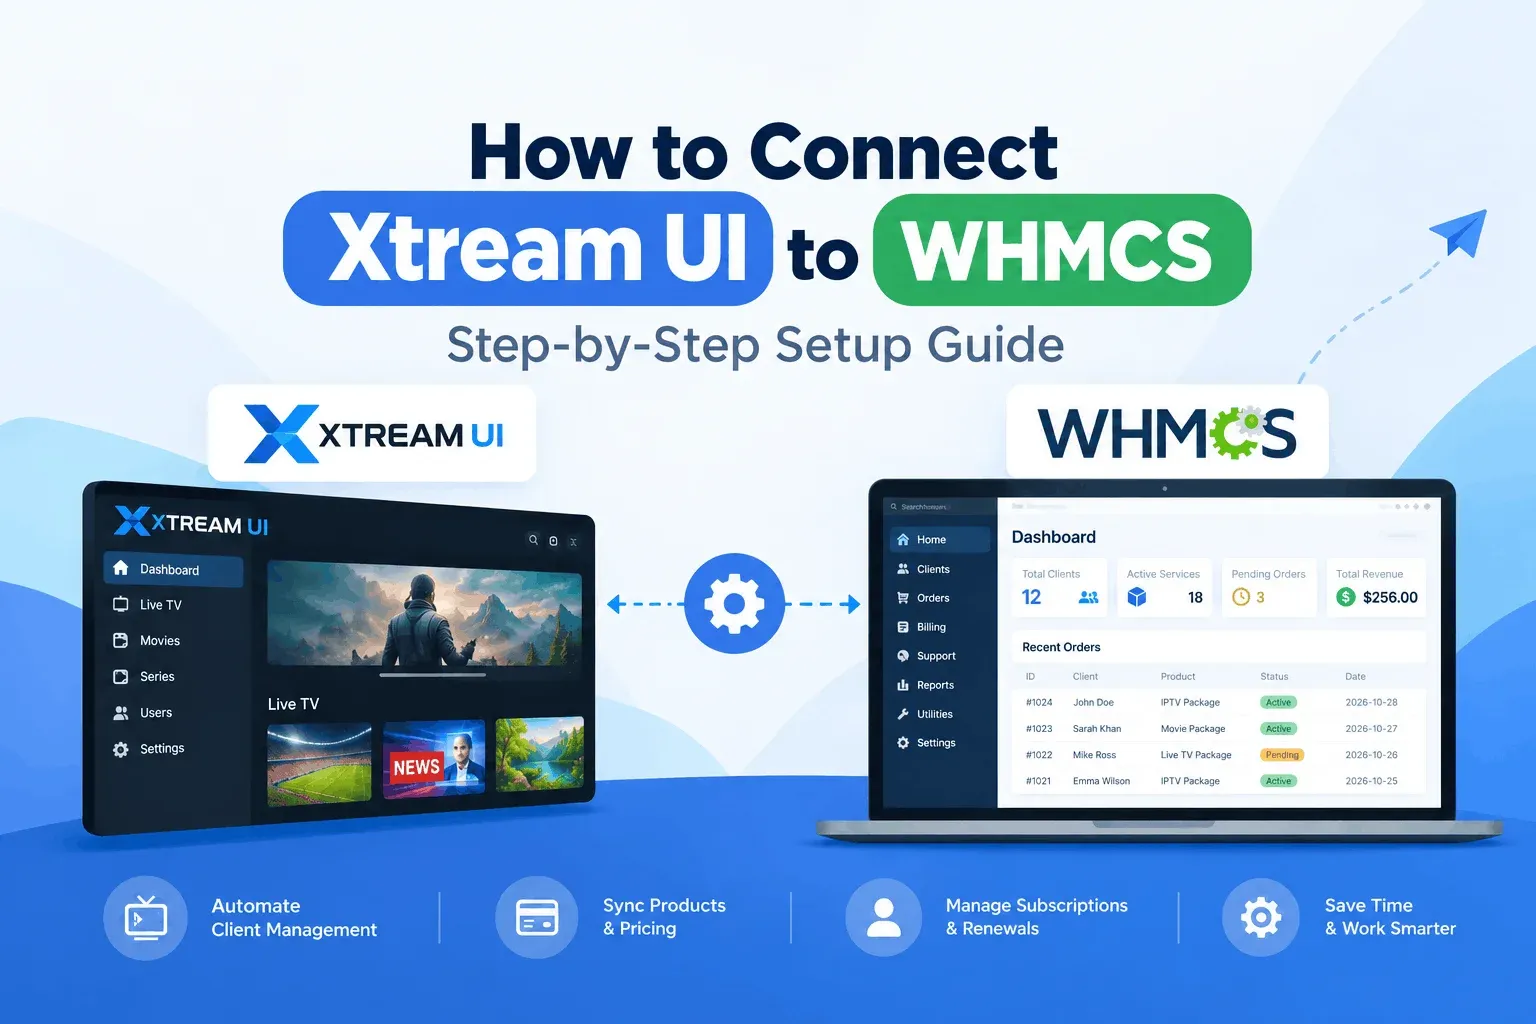
Running an IPTV service by hand gets tiring quickly. Every paid order means logging into the panel, creating a line, choosing a bouquet and emailing the login details. Miss a renewal and a customer is either cut off by mistake or streaming for free. Connecting Xtream UI Module to WHMCS lets your billing system handle that work. This guide explains how the connection works, what your options are, and how to set it up safely.
What Does It Mean to Connect Xtream UI to WHMCS?
Xtream UI and WHMCS in plain words
Xtream UI is a panel for managing IPTV users, bouquets and reseller accounts. It grew out of the community after the original Xtream Codes platform shut down in 2019. WHMCS is billing and client management software. It handles orders, invoices, payments, support tickets and the client area.
Because Xtream UI is community-maintained, check that your version is supported before you choose any integration.
How the two systems talk
WHMCS uses provisioning modules to run actions on outside systems. It defines standard actions for create, suspend, unsuspend, terminate and package change. An Xtream UI module maps your billing events to panel actions:
- A paid first invoice creates a line
- A paid renewal extends the expiry date
- An overdue invoice suspends the line
- A cancellation removes it
- A package upgrade changes the bouquet
This is what people mean by IPTV billing automation, or auto-provisioning.
Three Ways to Link Xtream UI and WHMCS
Manual management
- Pros: no extra cost, full control
- Cons: slow, easy to make mistakes, and painful as your customer list grows
A custom script or developer build
- Pros: fits your exact workflow
- Cons: higher upfront cost, you depend on one developer, and it can break when the panel or WHMCS updates
A ready-made WHMCS module
- Pros: faster setup, tested workflows, usually documentation and support
- Cons: a license cost, less room for unusual workflows, and quality varies between vendors
For most small and mid-sized providers, a ready-made module is the practical middle ground. Larger operators with unusual billing rules may be better served by custom work.
What to Prepare First
- A working WHMCS install with a payment gateway and a running cron job
- Your Xtream UI panel address, port and admin or API credentials
- A list of your bouquets and packages
- A full backup of WHMCS files and the database
- A staging copy, if you can run one
If you sell in more than one currency, set those up now so prices behave correctly in your tests.
Step-by-Step Setup
Menu names differ slightly between WHMCS versions and modules, so keep your module’s documentation open as you go.
Step 1: Install the module
Upload the module folder to /modules/servers/ in your WHMCS installation, using the exact folder name the vendor documents. Enter your license key if the module needs one.
Step 2: Add your panel as a server
In the admin area, go to Configuration → System Settings → Servers and click Add New Server. Enter a name, the panel hostname or IP and the credentials, choose the Xtream UI module as the type, and run Test Connection.
Step 3: Create the product
Go to Configuration → System Settings → Products/Services and create a product. Set the billing cycles and prices. On the Module Settings tab, choose the module and map the product to a bouquet or package. Under automation, choose to set up the account automatically after the first payment.
Step 4: Run a full test order
Place an order with a low-priced product or a promo code. Confirm the line appears in the panel. Then test the parts that demos often skip: suspend, unsuspend, renewal and termination. Most real-world problems show up there, not at account creation.
Step 5: Check what customers see
Open the client area and the welcome email. Login details, the expiry date and the renewal option should all display correctly.
Common Problems and Fixes
- Test Connection fails: check firewall rules and any IP allow-list on the panel. Your WHMCS server’s IP must be allowed. Also confirm the port and SSL settings.
- Order paid, but no line created: confirm the cron job runs and auto-setup is switched on. Then read Utilities → Logs → Module Log, which shows the request sent and the panel’s reply.
- Wrong bouquet assigned: recheck the mapping on the product’s Module Settings tab.
- Duplicate lines: customers often place a new order instead of renewing. Point them to the renew button in the client area.
How to Choose a Module Fairly
Several vendors sell Xtream UI modules. Compare them on the same checklist:
- Supported panel versions and WHMCS versions
- Separate options for owners and resellers
- Update and support policy, and how quickly fixes arrive
- A free trial or demo
- Pricing model: one-time or recurring
- Refund terms and documentation quality
WHMCS Modules, for example, offers Xtream UI modules for owners and resellers with one-time pricing and a free trial, which makes it easy to run the tests above before you pay. Whichever vendor you pick, test the failure cases, not just account creation.
Final Thoughts
A good setup is boring: orders create lines, renewals extend them, and unpaid invoices suspend them without you touching the panel. Test every action once, keep backups, and recheck after any panel or WHMCS update. When you’re ready, you can browse the Xtream UI billing modules at WHMCS Modules.